

If you’ve completed steps one and two, then you’re ready for the fun part. Thankfully our friends at Power CAT have made setting up the key components of Core a breeze with their handy new setup wizard. The wizard is still in preview, so you may experience the odd bump or two (and I will detail the issues I came across in this post) but the team are very responsive and for the most part things were pretty smooth!
You’ll find the CoE Setup Wizard in your list of apps in the solution:
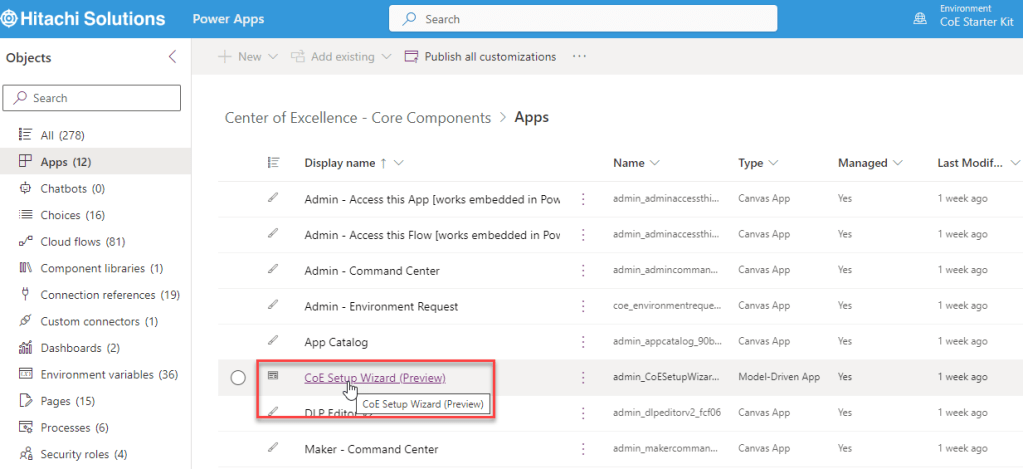
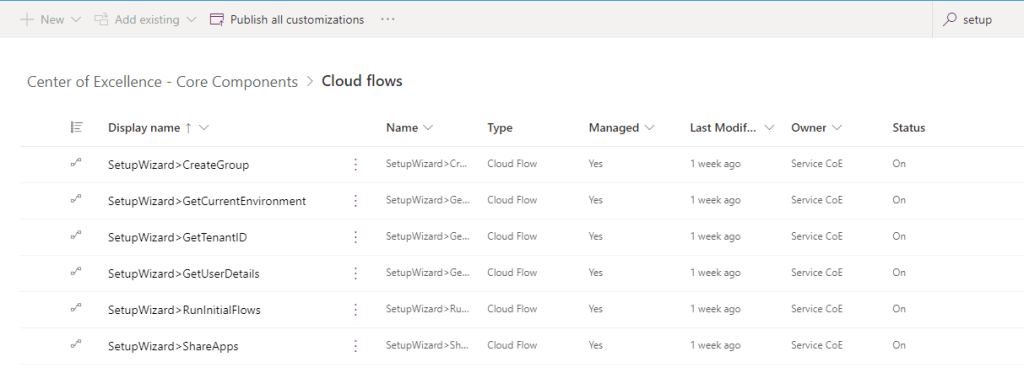
Once you pop this open, the wizard will guide us through a series of steps to ensure correct setup. The first thing I would recommend before starting is ensuring you have all the Setup Wizard flows turned on. I ran into an issue when creating groups because the Create Group flow was off. Do a quick search for the word Setup. This will give you a list of flows that should all be on.
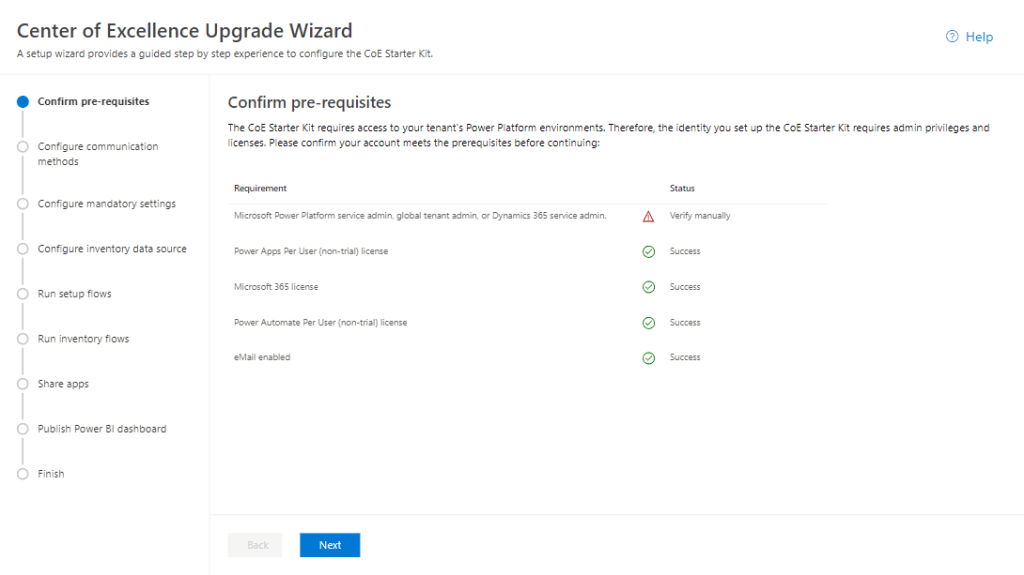
First, the setup is going to verify that your Service User is set up with the correct licencing and access. My first post covers setting up your service user, if you have any questions on requirements. for the most part this is pretty self explanatory. Once you have all green across the board (minus the first one you need to manually confirm) you’re good to click Next.
Now we’re going to set up three distinct groups: Admins, Makers and Users. These groups will be used for easily communicating with various personas of the Power Platform and to easily share access to apps etc. You can have these set up prior to using the wizard and select them when you click “configure group” however that didn’t always work for me so I opted to create the group via the wizard. Pop in a name and email alias for your group and those flows you turned on prior to opening the app will kick in and do all the hard work for you.
If you get an error, make sure your Office 365 Groups connector is set up to use your service user, your user has the correct permissions and that yo u have the Create Groups flow turned on.

Once you have set up all three, you’ll see a little green ✔ beside each one indicating they have been setup correctly:

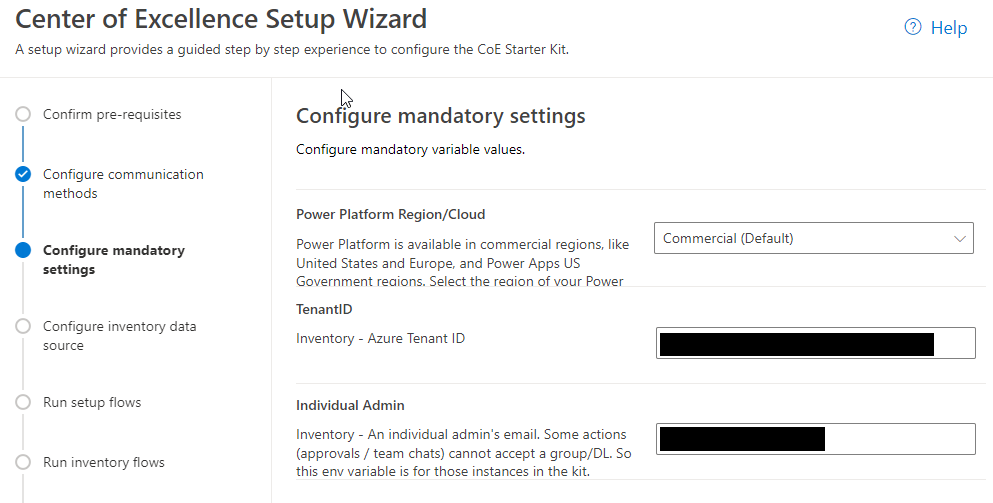
The next screen should automatically populate in environment variables for you. If not, you can add this information manually here. Again, ensure your flows are on and this shouldn’t be an issue.
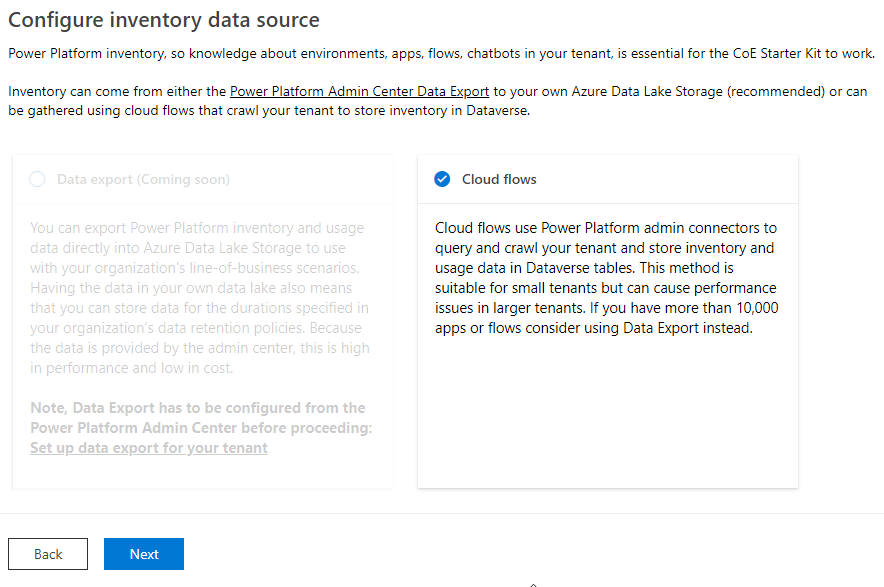
Next is a pretty easy screen for right now. Currently we can only select Cloud Flows from the wizard. Soon we will have the option to set up Data Export from the wizard (SO EXCITING!). For now we’ll continue on with Cloud Flows.
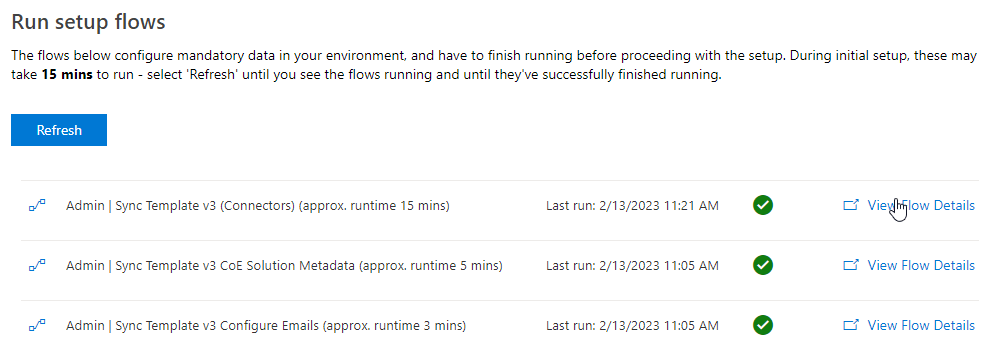
Now the wizard is going to walk us through a handful of flows that need to be turned on. The wizard will turn them on for us and will update us as they complete their jobs. Clicking refresh will update the status. Leave them be for about 15 mins and grab a snack. Once the flows have run, you’re ready to start inventory on your tenant!
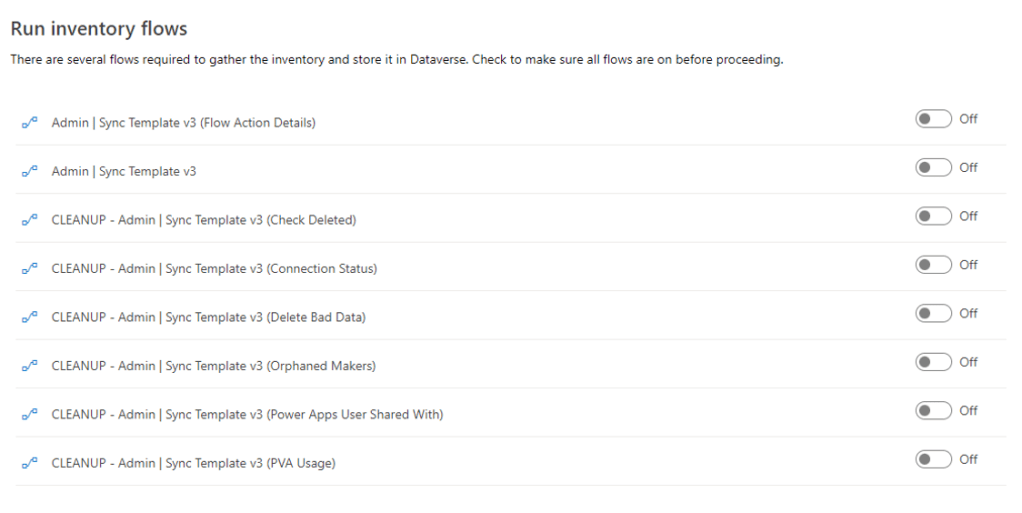
Time to turn on all the flows! Flip the flows to on and wait for the green sign of approval confirming all flows are on!
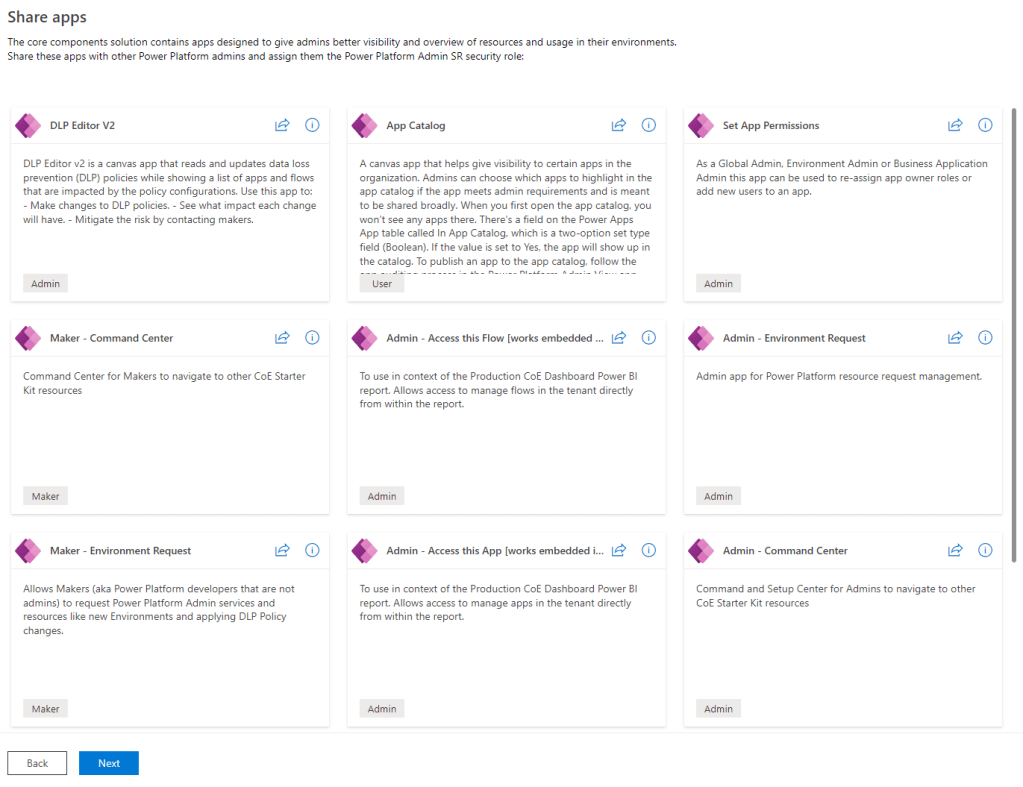
Next you’re going to share out your apps if necessary. If you’re just getting started, I recommend sharing out the admin apps with your admins for now. You can always come back here later and share out other apps if necessary.
Technically, you’re done! The final two steps provide links and information on setting up the Power BI Dashboard, which we will cover in our next blog entry!
Congrats! You have taken one giant step on your Governance journey!
